

My
students throw the word bully around loosely these days. Multiple times a day I
have students tell me someone is bullying them, only to find out that someone
was just teasing them one time on the playground or in class. Not that this isn’t hurtful, but it is far from bullying.
students throw the word bully around loosely these days. Multiple times a day I
have students tell me someone is bullying them, only to find out that someone
was just teasing them one time on the playground or in class. Not that this isn’t hurtful, but it is far from bullying.
We have to educate our students and the angry
parents whose child told them they were being bullied, what bullying really
means and what it entails. We have to teach them the difference between someone
being a bully and someone being mean. One of my goals this year has been to teach my
students the difference between a true case of
bullying and a person who isn’t very nice. Here’s how I’ve been going about that…
Individuals:
We have very few
true blue bullies at my school. The two students that we do have who are not
very nice pretty frequently who some may label as a bully, I chose to work with
individually. In my experience, most kids don’t become a bully for fun, there
is usually more to the story. Individual sessions seem to work better as they
allow them to be more comfortable and occasionally vulnerable.
We usually only
do one to three sessions together.
do one to three sessions together.
Session #1:
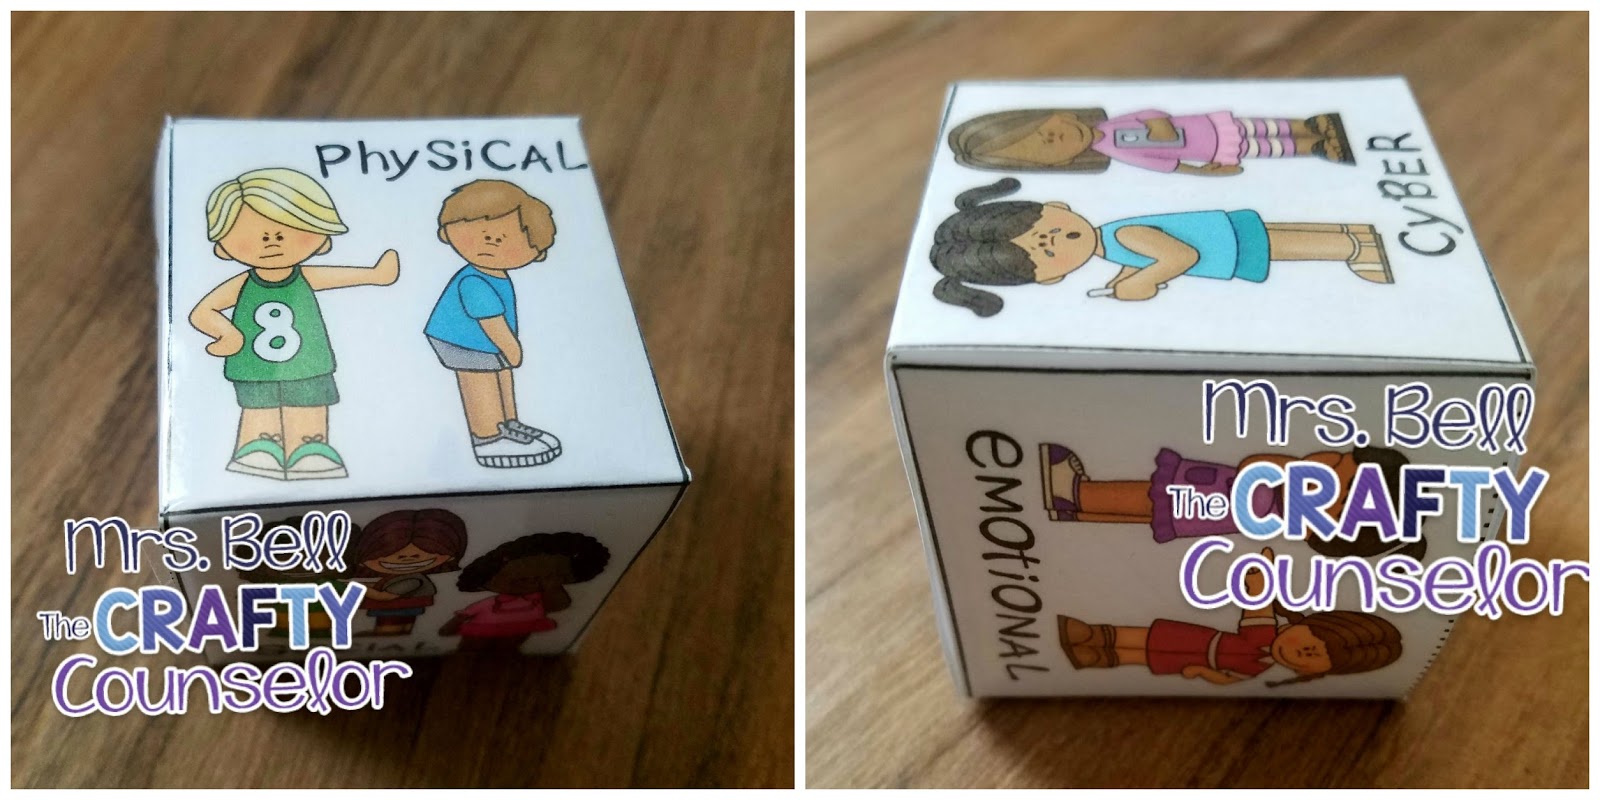
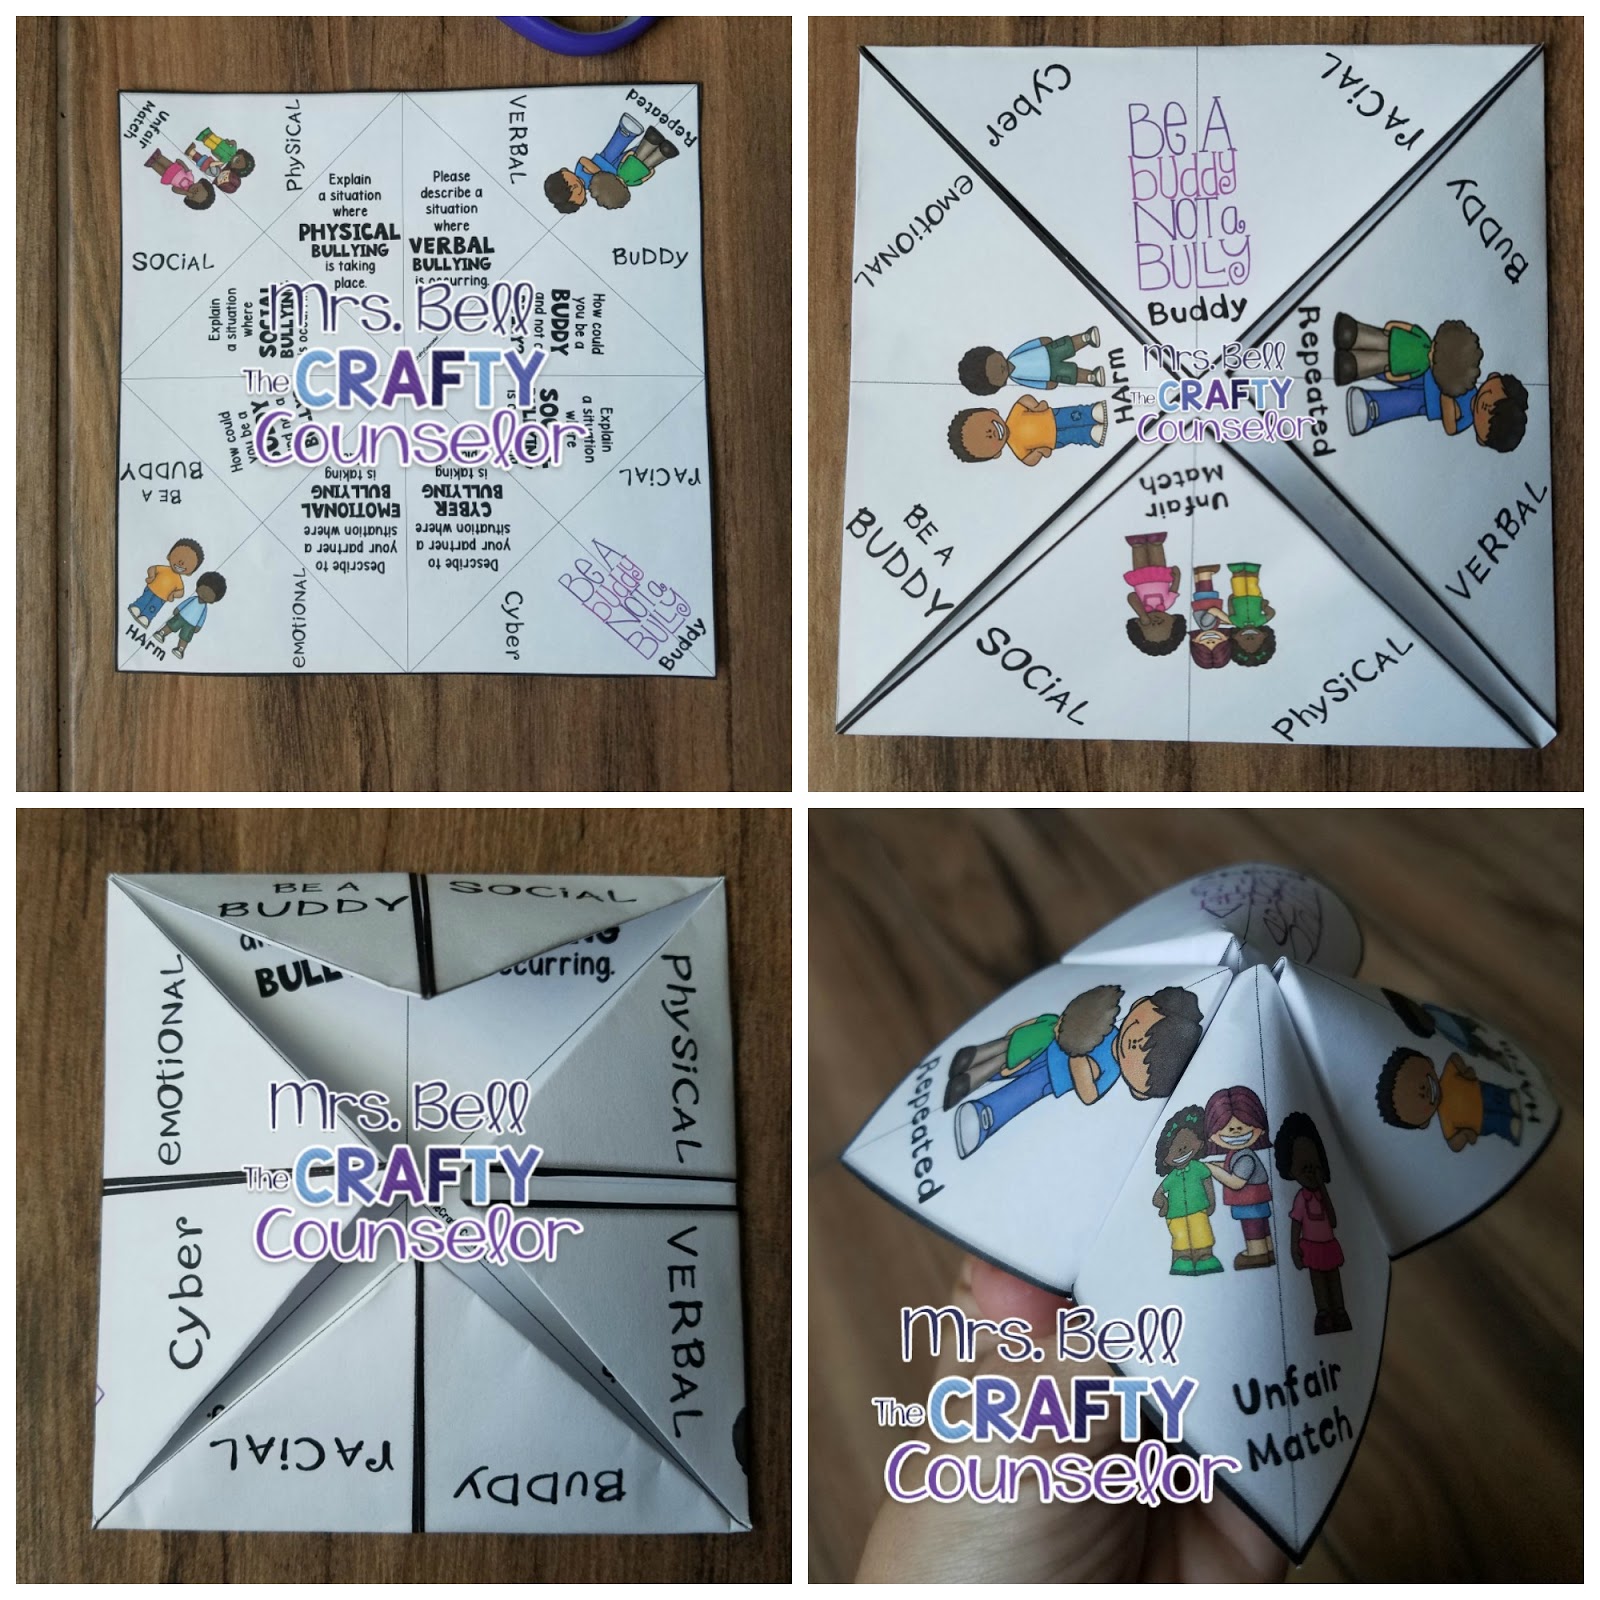
After some small
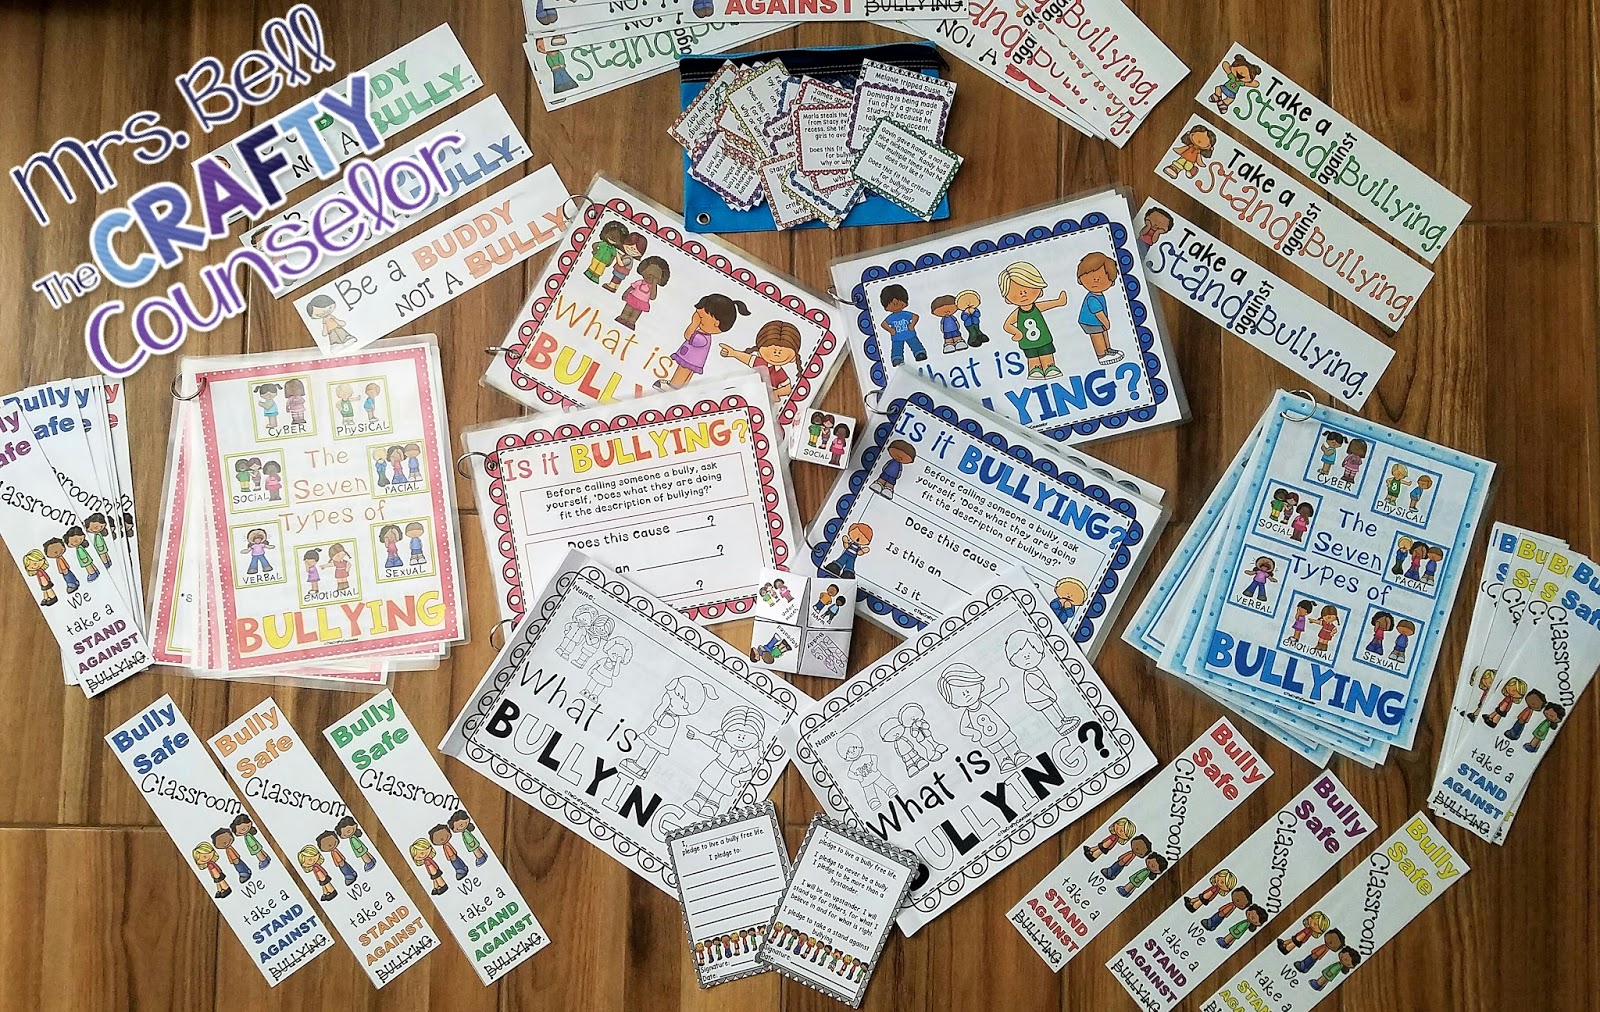
talk and getting to know each other a bit, we play with the “Seven Types of Bullying Cube” so I can understand the
student’s knowledge of what exactly is considered bullying.
talk and getting to know each other a bit, we play with the “Seven Types of Bullying Cube” so I can understand the
student’s knowledge of what exactly is considered bullying.
After we take
turns back and forth providing examples and taking guesses at what that type of
bullying may be, we go over the “Seven Types of Bullying” posters. We read and
discuss them and I ask the student if they can think of specific examples of
the type of bullying, if they’ve ever seen or experienced it, etc.

Session #2:
We quickly review
the seven types using the “Seven Types of Bullying Cootie Catcher”.
the seven types using the “Seven Types of Bullying Cootie Catcher”.
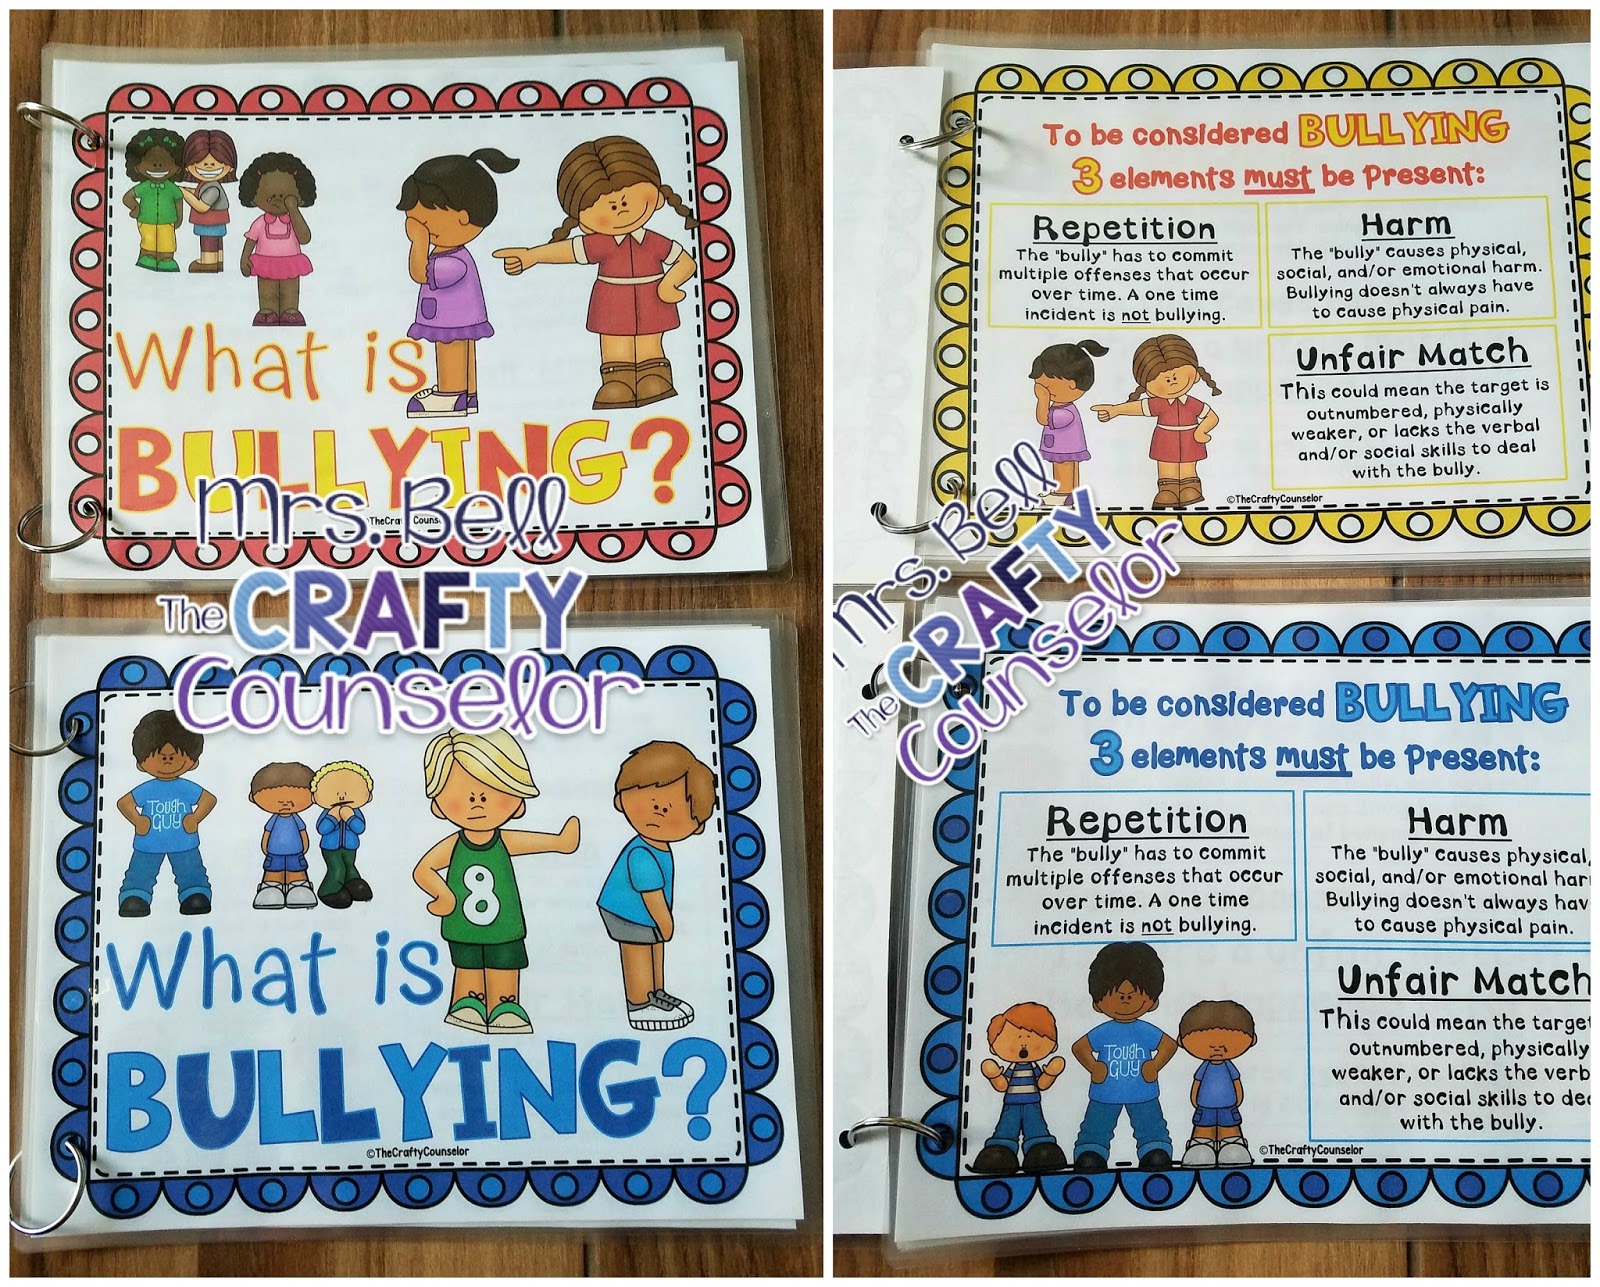
We then read and
discuss the “What is Bullying Book” (it is a poster set that I bound together
with keyrings to create a book). There are two types of books with the same
information that feature different clipart characters. I let the student pick
which one they want to use.
discuss the “What is Bullying Book” (it is a poster set that I bound together
with keyrings to create a book). There are two types of books with the same
information that feature different clipart characters. I let the student pick
which one they want to use.
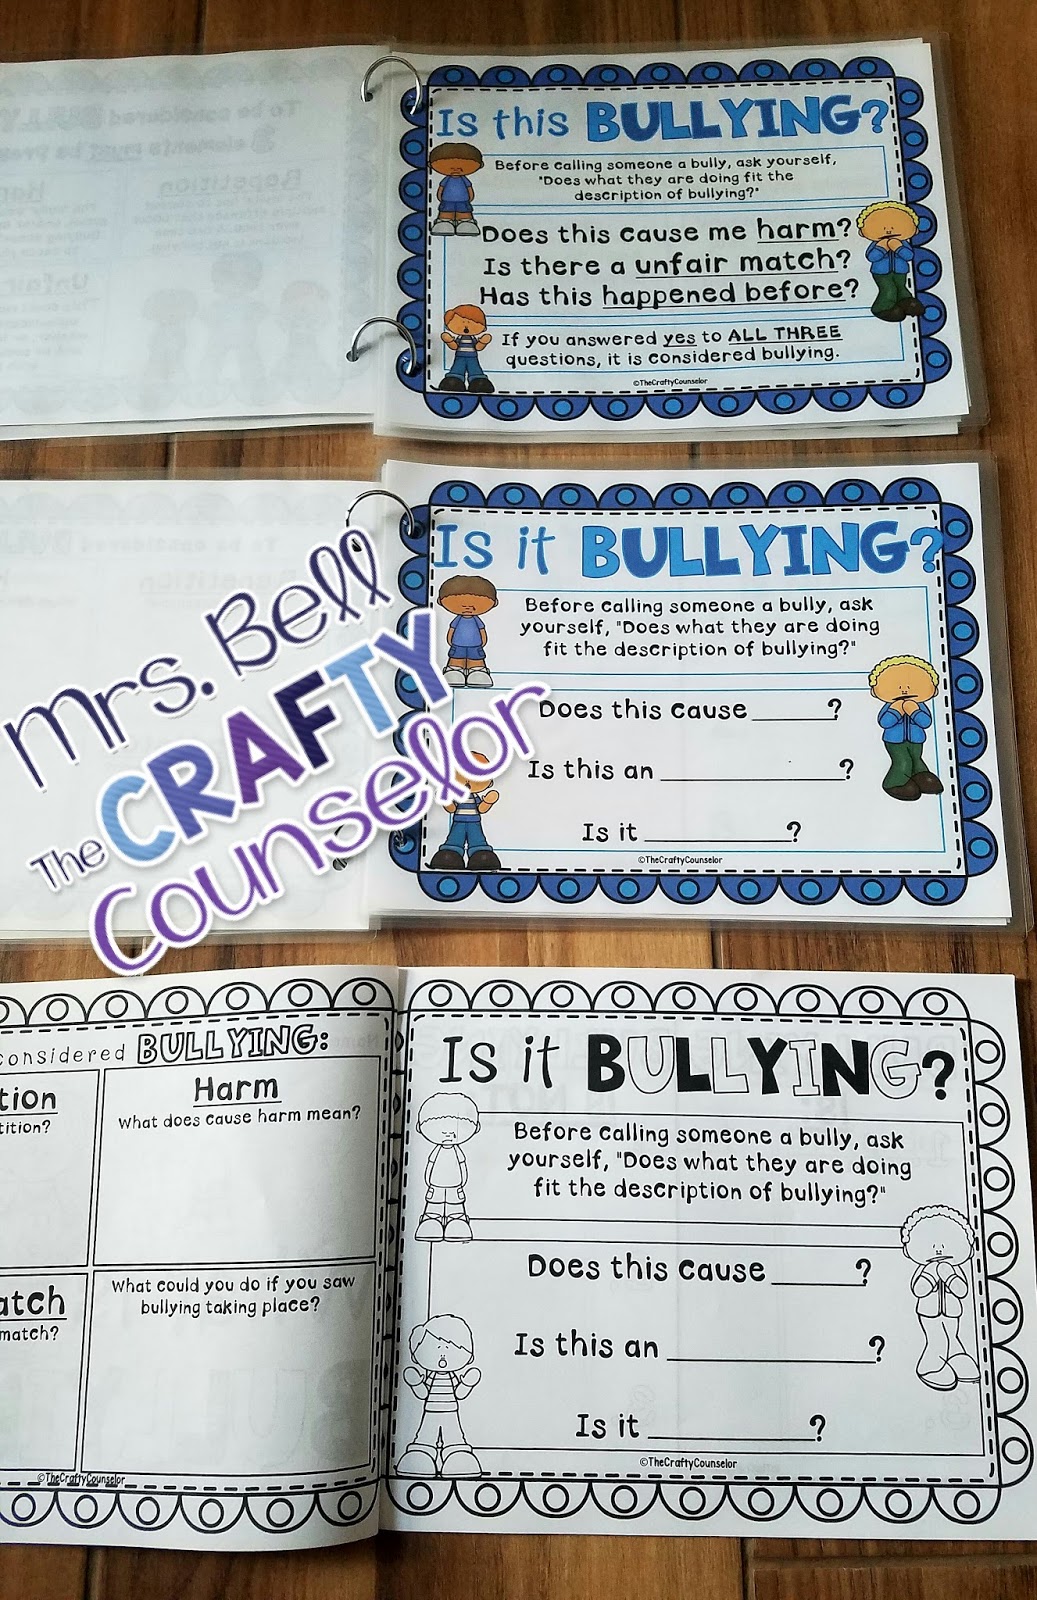
After a thorough
discussion, I give them a blank copy of the book and we go page by page trying
to figure out the answers.
discussion, I give them a blank copy of the book and we go page by page trying
to figure out the answers.

Once finished, I
let them color the book for a bit while we continue to talk and form a bond.
let them color the book for a bit while we continue to talk and form a bond.
Session #3:
We review all
that we learned and if they want, they sign the pledge card and I give them a
bookmark keepsake.
that we learned and if they want, they sign the pledge card and I give them a
bookmark keepsake.

Depending on the
student and their needs, we may spend extended time together and follow the
small group plan, just the two of us.
student and their needs, we may spend extended time together and follow the
small group plan, just the two of us.
Small Groups:
I chose a group
of students from each grade level that are known to throw around the word
bullying frequently and created various small groups so that we could really
dive deep into the material. Listening to each other and bouncing around ideas
allows them to connect to the ideas differently than if they only participated
in a whole class guidance lesson.
Session #1:
After we
establish the purpose of the group and our group norms, we get to know each
other a bit with some type of icebreaker activity. I like to switch these up
every time I meet with a group of students. It keeps it fresh for me; it’s
interesting to see how different icebreaker activities create different
dynamics and interactions.
After we are all
comfortable, we play with the “Seven Types of Bullying Cootie Catcher”. We sit
in a circle and each student gets a turn. They turn to their right and ask the
person next to them the question. We repeat until everyone has had at least two
turns (hopefully time allows). I use this to gauge the group’s knowledge of the
different types of bullying. It lets me know what I need to focus on most with
each group.

Session #2:
After
we review our norms, and have a quick icebreaker such as telling our highs and
lows for the week, we utilize the “Seven Types of Bullying Cube.”
It really gets the conversation started.
After
we review our norms, and have a quick icebreaker such as telling our highs and
lows for the week, we utilize the “Seven Types of Bullying Cube.”
It really gets the conversation started.

We
then use “What is Bullying Book” (poster set made into a book) and discuss each
page. At the end, students should have a pretty good understanding of the
criteria for bullying and what bullying really means. I try to lead us into a
thorough discussion of each of the ideas and topics included.
then use “What is Bullying Book” (poster set made into a book) and discuss each
page. At the end, students should have a pretty good understanding of the
criteria for bullying and what bullying really means. I try to lead us into a
thorough discussion of each of the ideas and topics included.

Session
#3:
#3:
Once
students are reminded of the group norms, and our icebreaker is finished (an
example of something new we learned that week-doesn’t have to be related to our
group) we dive into the workbook. I make black and white copies ahead of time
and give one to each student. We go page by page, filling in as much
information as the group remembers. Once finished, we refer back to the book we
used in the previous session and fill in missing information.

Session
#4:
#4:
This
is my favorite session of the group. It is so interactive and fun! I place the “Does this fit the criteria for Bullying”
Situation Cards upside down in a pile in the middle of our group circle. Students
take turns picking a card, reading it to the person on their right and
patiently waiting for an answer. Once the answerer is finished, the questioner
has the opportunity to add to their answer. Once both are done, the answerer
picks a card turns to their right and continues the cycle until we run out of
time.

Session
#5:
#5:
Now
that we understand the concept of bullying, the criteria for bullying, explored
various bullying situations and have discussed our experiences with bullying,
we learn about the seven types of bullying. I show them the poster set, which I
also bind with keyrings. I find it makes it easier to keep and handle if they
are bound together as I have limited wall space in my office to work with and
display posters. It is also more relatable if the students can work with the
information as they hold and manipulate the posters.

Session
#6:
#6:
I
like to have an open conversation about what the students learned, what they
liked and any questions or concerns they still have. I like to have all the
materials we utilized during our time together out so that we can review
everything we learned and refer back if there are questions.
like to have an open conversation about what the students learned, what they
liked and any questions or concerns they still have. I like to have all the
materials we utilized during our time together out so that we can review
everything we learned and refer back if there are questions.
Once
we feel good about the information and I feel they clearly understand the
difference between a bully and someone who just plain isn’t nice, we sign our pledge
cards (if they so choose) and they pick out their favorite keepsake bookmark.
we feel good about the information and I feel they clearly understand the
difference between a bully and someone who just plain isn’t nice, we sign our pledge
cards (if they so choose) and they pick out their favorite keepsake bookmark.

Whole Group Guidance Lessons:
I
love whole group lessons. You have the opportunity to impact a student and
never even know it. What you teach can stick with many of them and has the
potential to change their classroom climate way after you leave. That’s a
really awesome feeling.
love whole group lessons. You have the opportunity to impact a student and
never even know it. What you teach can stick with many of them and has the
potential to change their classroom climate way after you leave. That’s a
really awesome feeling.
I
like to complete a two part lesson (assuming the teacher will allow me to use
that much class time). We have really great teachers and I am thankful that
they look at what I have to teach as valuable and let me have so much access to
their precious little babies.
like to complete a two part lesson (assuming the teacher will allow me to use
that much class time). We have really great teachers and I am thankful that
they look at what I have to teach as valuable and let me have so much access to
their precious little babies.
Lesson
#1:
#1:
We
take about 10 minutes to discuss the concept of bullying vs. being mean and review
the “What is Bullying” posters. I put each poster, one by one, under the
overhead projector as we discuss the written concepts. It leads to some very
thoughtful discussion.
take about 10 minutes to discuss the concept of bullying vs. being mean and review
the “What is Bullying” posters. I put each poster, one by one, under the
overhead projector as we discuss the written concepts. It leads to some very
thoughtful discussion.
Then we play with the situation cards as a
class. I place them upfront, face down in a pile. I call four students at a
time who come to the front, pick a card, read the question out loud and then
provide an answer. The class discusses the scenario and the provided answer and
kindly add on or help guide students who are struggling. This activity makes
for great conversation and many learning moments. It provides a safe place to
explore different scenarios and ask questions.
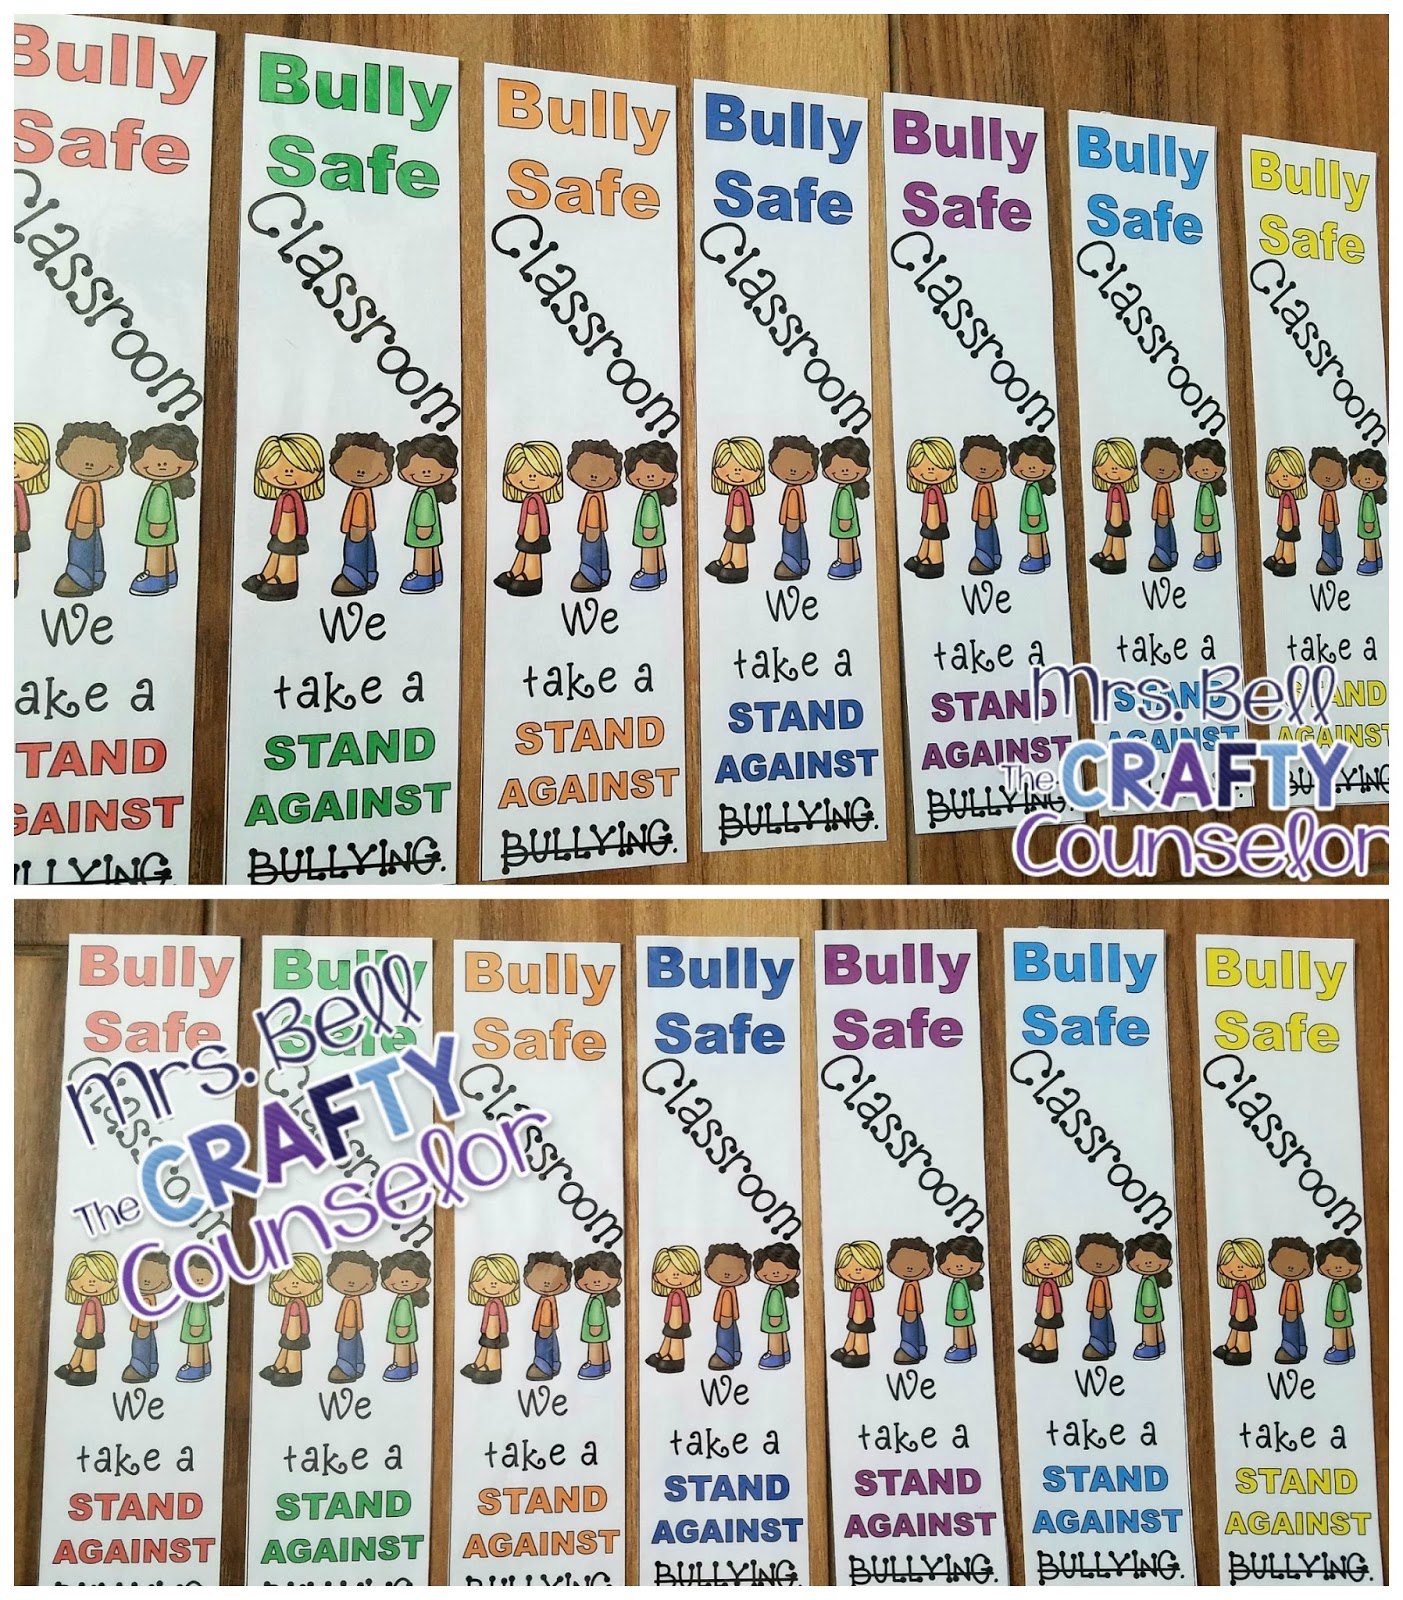
When my time is up, I leave each student with a
bookmark, there are alot of different designs to choose from,
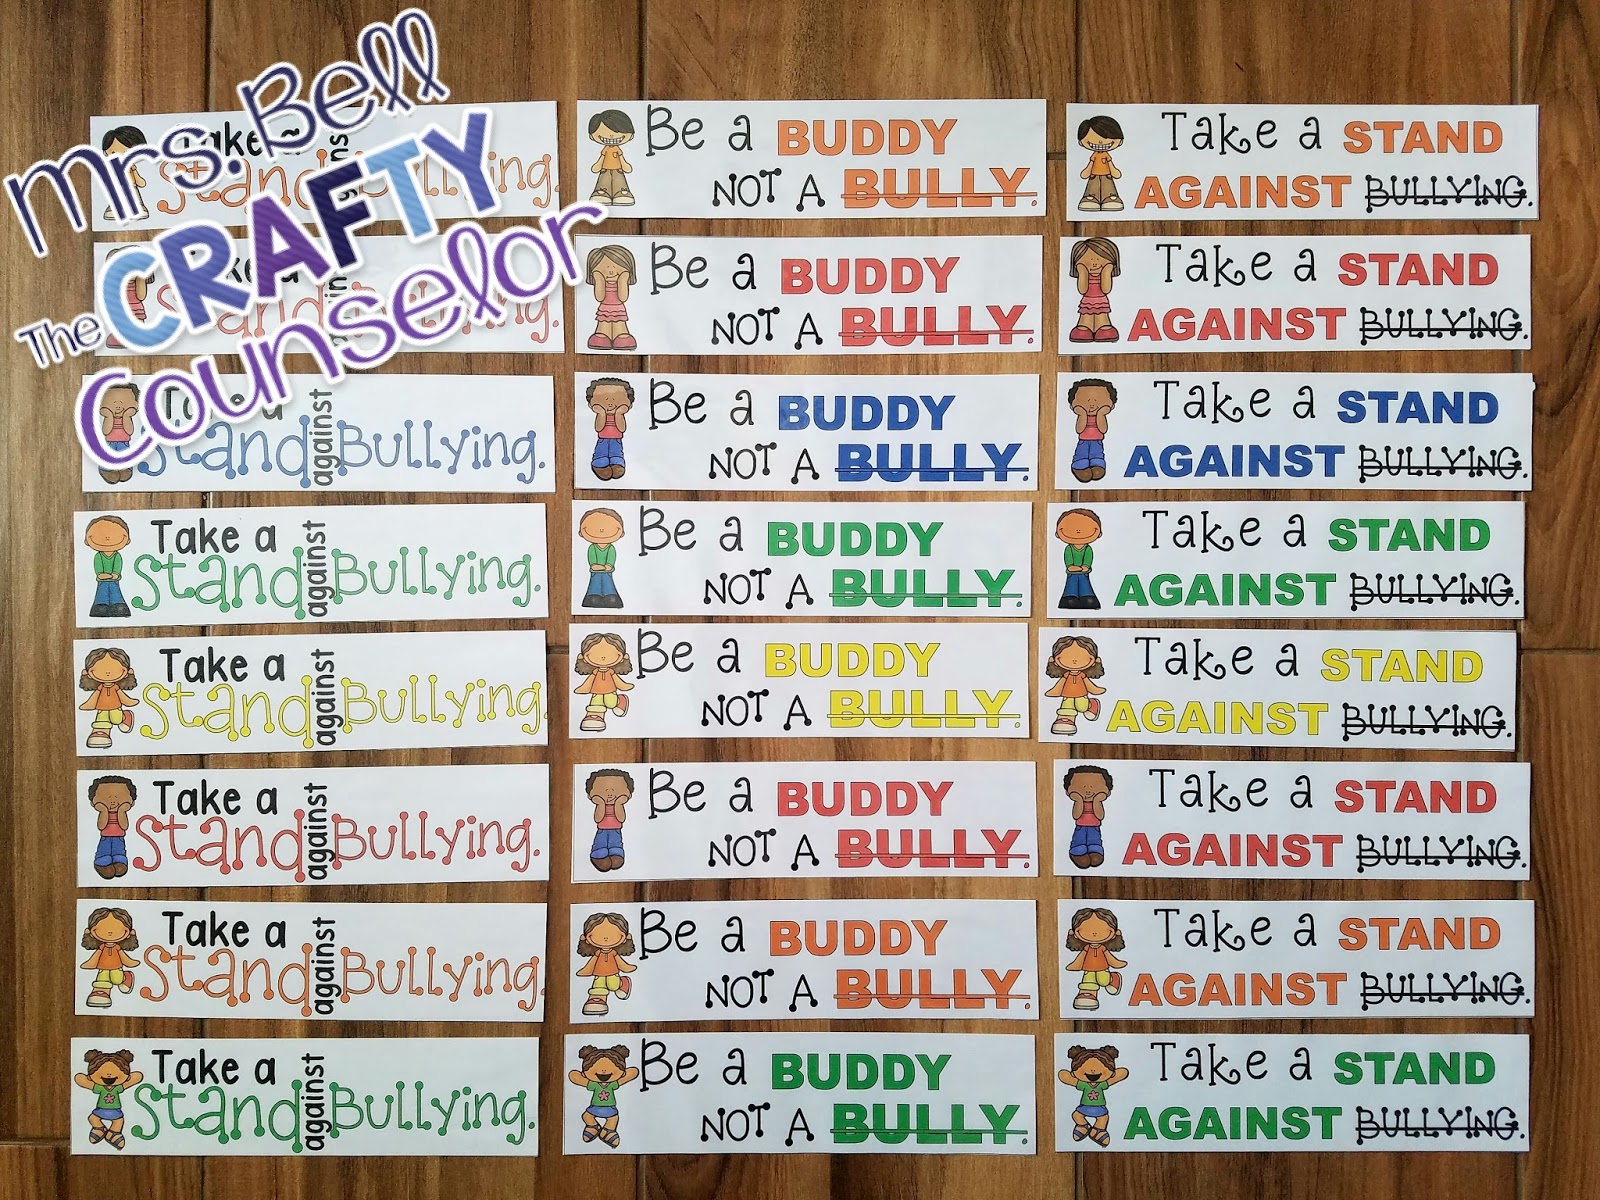
and hang a “Bully Safe Classroom” Tag outside the classroom door (if the teacher approves). I let the teacher choose from the different color options.
Lesson
Two:
Two:
I
try to come back after a few weeks. I have them start by playing with the
cootie catchers in groups of 2-4 for anywhere from 5-10 minutes, depending on
their level of engagement. This is a mini review that gets them talking and
thinking about the criteria for bullying as well as the various bullying types.
I make these ahead of time so I can utilize more time with the class.
Now
having an understanding of bullying and its criteria, we learn about the
different types of bullying. This is always eye opening for the students
because sometimes there are ways to bullying and alienate people in which they
had not thought of, realized or been previously exposed to. It makes them aware
of ways they may have “bullied” others or made them uncomfortable without even
knowing it.
I
start the lesson by displaying each
of the “Seven Types of Bullying” Posters on the projector and then explaining
and discussing each type. Depending on the age and maturity of the group, I may
opt out of discussing sexual bullying.
start the lesson by displaying each
of the “Seven Types of Bullying” Posters on the projector and then explaining
and discussing each type. Depending on the age and maturity of the group, I may
opt out of discussing sexual bullying.
After I feel
the students have got it, I have the students work in groups again rolling the Bully
Cube and describing the type of bullying they land upon. I circle the room and
interact with each group making sure they have taken away something from our
time together.
When
I’m done, I leave each student with a bookmark and ask if I can hang a “Bully
Safe Classroom” Tag outside the classroom door if the original tag is not still
there (if something happened to the tag and it wasn’t removed for any reason).
I’m done, I leave each student with a bookmark and ask if I can hang a “Bully
Safe Classroom” Tag outside the classroom door if the original tag is not still
there (if something happened to the tag and it wasn’t removed for any reason).
That’s how I combat the bullying vs. being mean
epidemic at my school. What do you all do? I would love to hear your thoughts
and opinions! Share them with me here or on any of my social media sites <3
epidemic at my school. What do you all do? I would love to hear your thoughts
and opinions! Share them with me here or on any of my social media sites <3